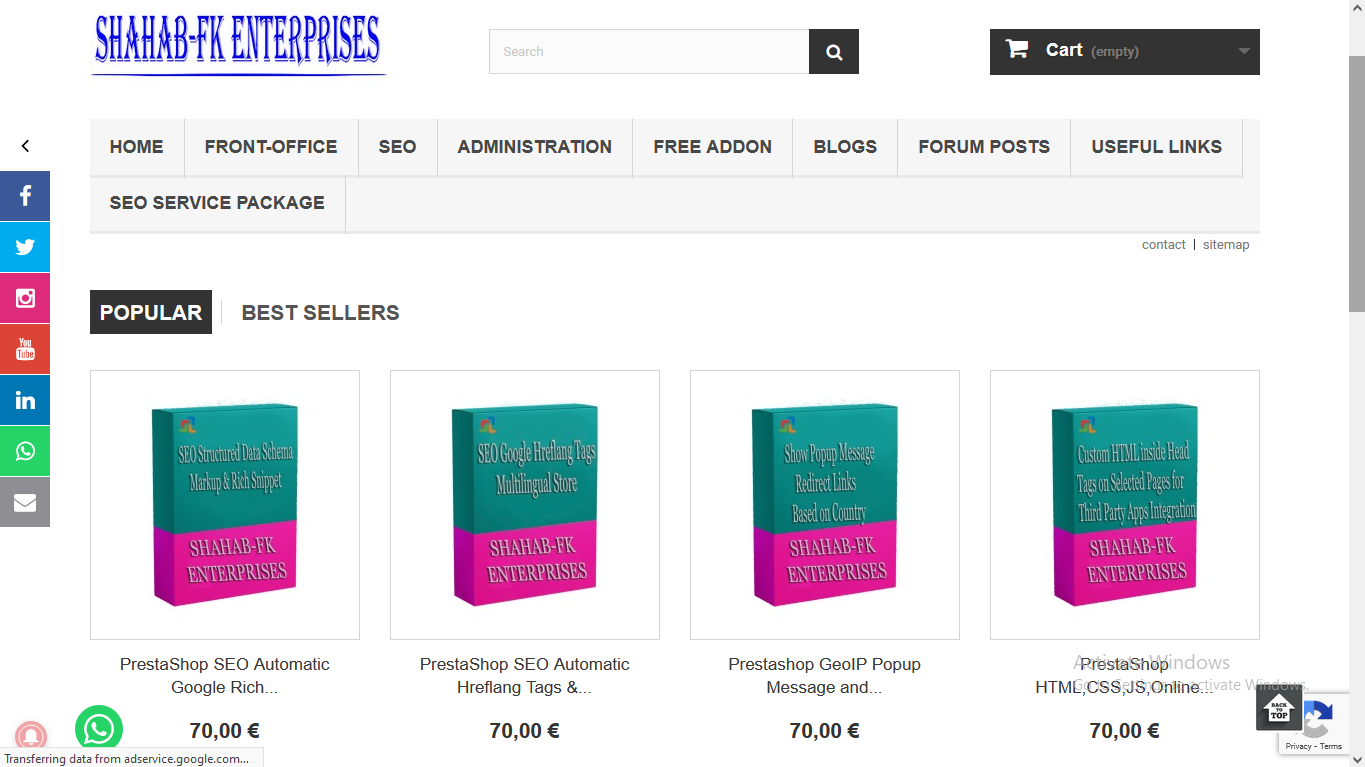
To edit the social media links in the footer of your PrestaShop store, you’ll typically need to modify your theme’s template files and add your custom links. Here are the general steps to achieve this:
- Backup Your Website: Before making any changes to your PrestaShop theme, it’s crucial to back up your website files and database in case anything goes wrong during the editing process.
- Access Your PrestaShop Theme Files: Use an FTP client or file manager provided by your hosting provider to access your PrestaShop theme files.
- Locate the Footer Template File: The location of the footer template file may vary depending on the theme you are using. Commonly, you can find it in the
themes/your-theme-name/templates/_partialsdirectory.The footer template file is typically named something like
footer.tplorfooter.html. It may also be divided into multiple files, such asfooter.tplandfooter_links.tpl. You may need to edit one or both files, depending on your theme. - Edit the Footer Template File: Open the footer template file using a text editor. Look for the section where social media links are displayed. These links are usually in HTML format. You might find code that looks something like this:html
<div class="social-block">
 <a href="#" class="social-icon" title="Facebook"><i class="fab fa-facebook"></i></a>
 <a href="#" class="social-icon" title="Twitter"><i class="fab fa-twitter"></i></a>
 <!-- Add more social media links here -->
 </div>
Modify the links and icons according to your requirements. For example:
<div class="social-block">
 <a href="https://www.facebook.com/your-facebook-page" class="social-icon" title="Facebook"><i class="fab fa-facebook"></i></a>
 <a href="https://twitter.com/your-twitter-page" class="social-icon" title="Twitter"><i class="fab fa-twitter"></i></a>
 <a href="https://www.instagram.com/your-instagram-page" class="social-icon" title="Instagram"><i class="fab fa-instagram"></i></a>
 <!-- Add more social media links here -->
 </div>
Replace
your-facebook-page,your-twitter-page, andyour-instagram-pagewith the actual URLs of your social media profiles.- Save Your Changes: Save the modified footer template file.
- Clear Cache: After making changes to your template files, it’s a good practice to clear PrestaShop’s cache to see the updates. You can do this in the back office by navigating to “Advanced Parameters” > “Performance” and clicking the “Clear cache” button.
- Check Your Website: Visit your website and navigate to the footer section to verify that your social media links have been updated as expected.
Keep in mind that the exact location and structure of the footer template may vary depending on your theme and its customizations. If you have difficulty finding or modifying the footer, consider consulting your theme’s documentation or seeking assistance from a developer or web designer familiar with PrestaShop themes.

