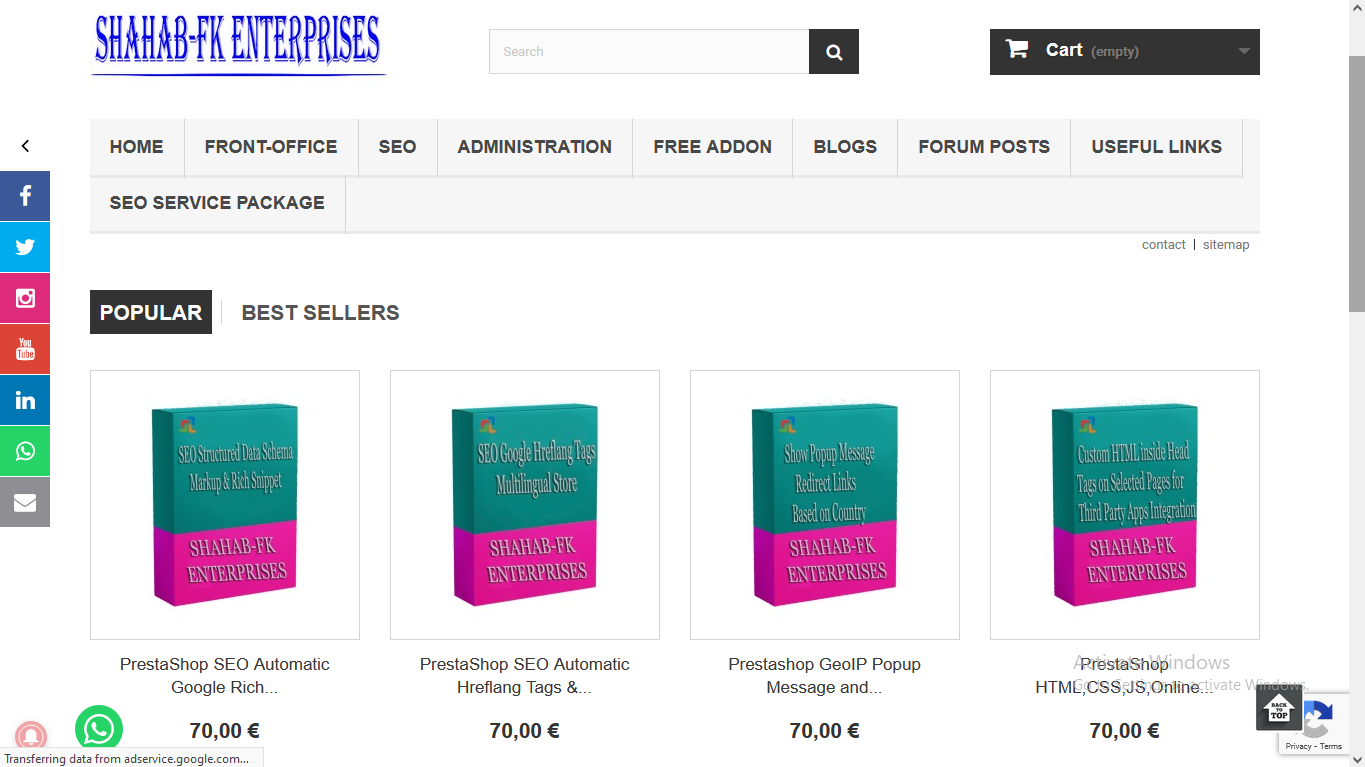
To add a category, CMS, supplier, manufacturer, or link in the top menu of your PrestaShop website, you can use the built-in menu editor in the back office. Here are the steps to follow:
Log in to the back office of your PrestaShop website.
Go to the “Modules” menu and select “Modules & Services.”
In the search bar, type “top menu” and press enter.
Look for the “Top Menu” module and click on the “Configure” button.
On the configuration page, you will see different options to add categories, CMS pages, suppliers, manufacturers, or links to the top menu.
To add a new category, click on the “Add a category” button and select the category you want to add to the list.
To add a new CMS page, click on the “Add a CMS page” button and select the page you want to add from the list.
To add a new supplier, click on the “Add a supplier” button and select the supplier you want to add to the list.
To add a new manufacturer, click on the “Add a manufacturer” button and select the manufacturer you want to add to the list.
To add a new link, click on the “Add a link” button and enter the link’s name and URL.
Once you’ve added all the items you want, click on the “Save” button to save your changes.
Please note that this method may vary depending on the version of Prestashop you are using and also the theme you have installed. Some themes can have different functionalities and ways to add items to the menu.

